Log in with the Mailchimp Connector
You can use Awesome Table Connectors to export data from Mailchimp to Google Sheets by logging in with the Mailchimp connector.
Prerequisites
- You have Awesome Table Connectors installed on your account.
- You have created a Google Sheets spreadsheet and launched the Awesome Table Connectors add-on.
Method 1: Sign in with Mailchimp
In the Awesome Table add-on Home screen, click Create new request.
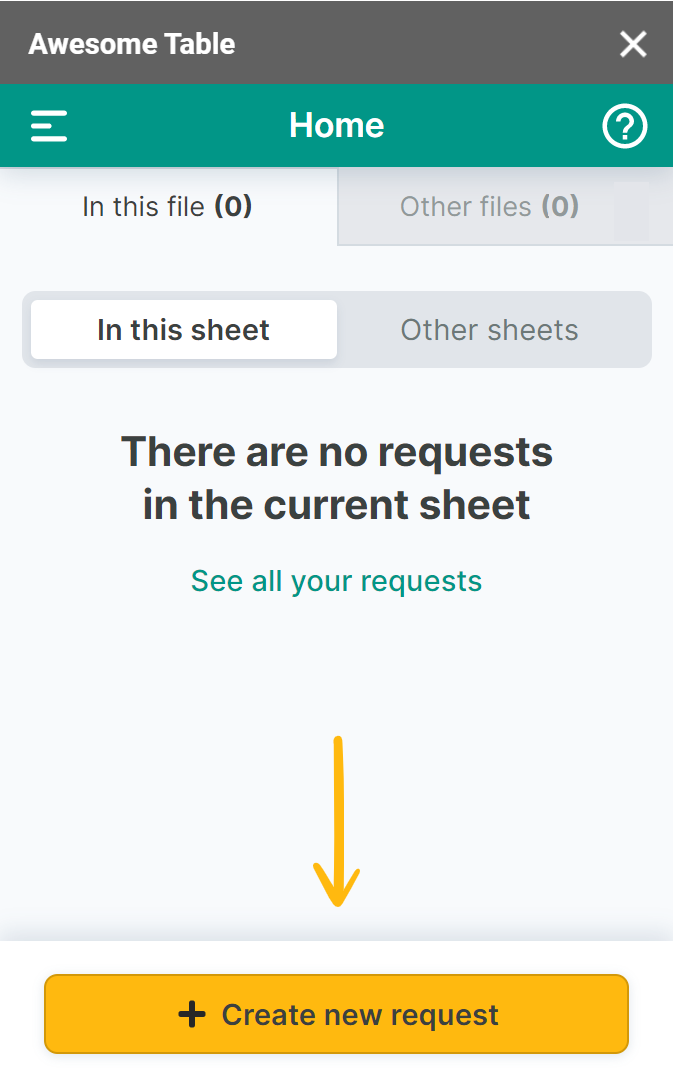
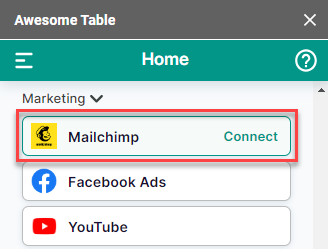
The list of available connectors is displayed.Open the Mailchimp connector.
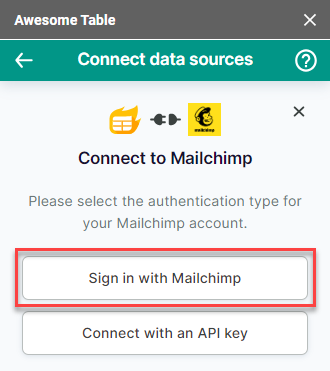
On the Connect to Mailchimp screen, click Sign in with Mailchimp.
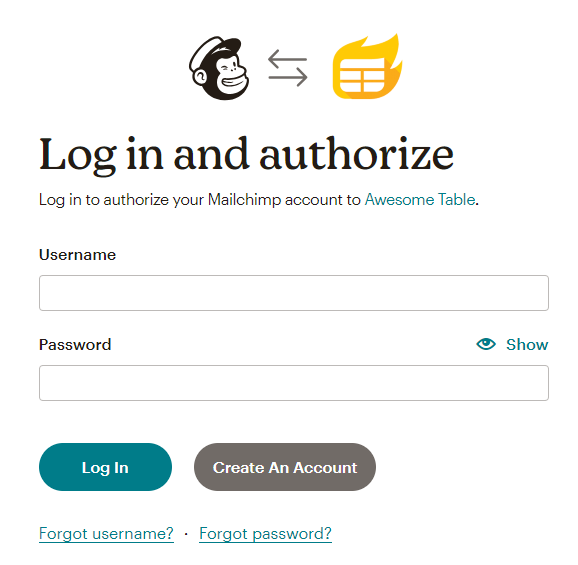
Log in to Mailchimp with your account.
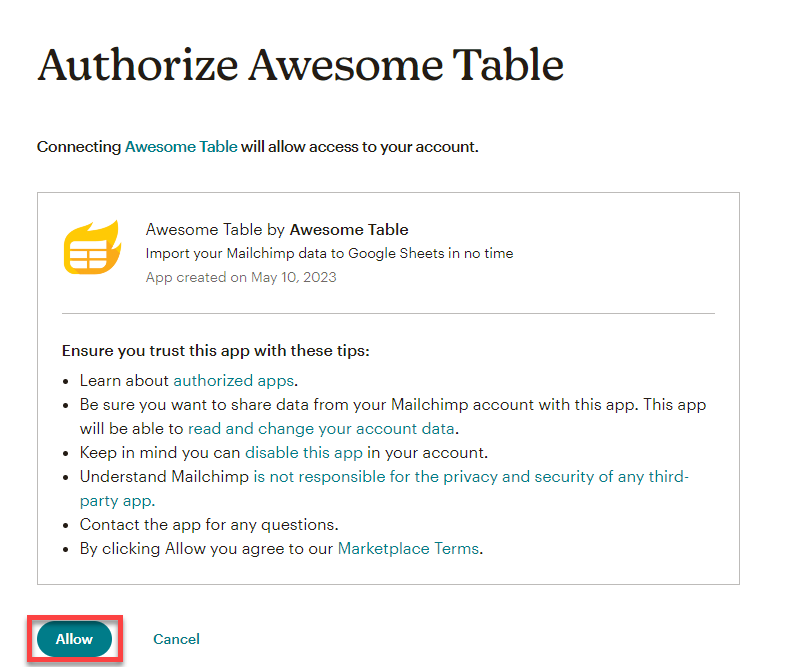
Click Allow to accept the authorizations.
 Awesome Table informs you if your connection is successful.
Method 2: Connect with an API key
Some connectors allow you to log in with an API key within the Awesome Table add-on. With this method, you don't need an account and can sign in from the add-on.
Prerequisites
In the Awesome Table add-on Home screen, click Create new request.
The list of available connectors is displayed.- Open the Mailchimp connector.
Select Connect with an API key.

Enter your API Key.
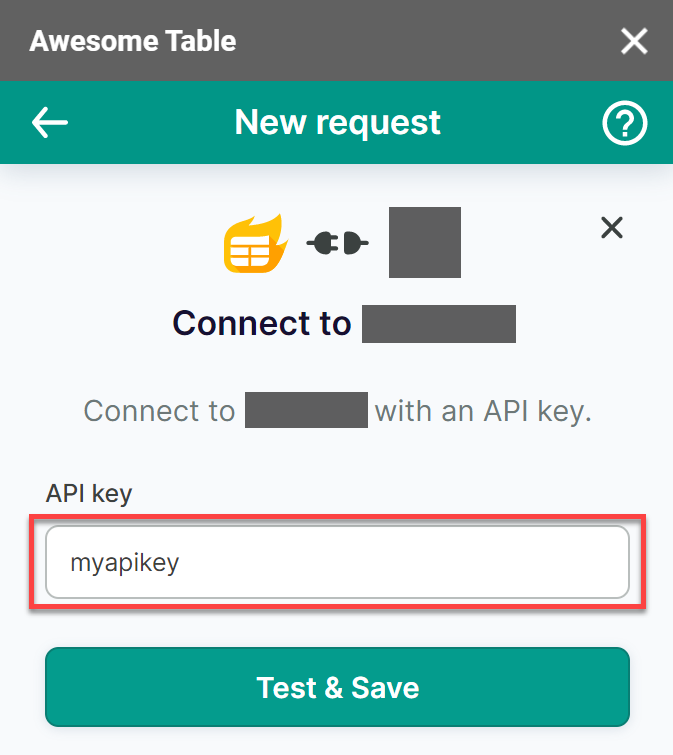
Click Test & Save.
Enter an Account name.
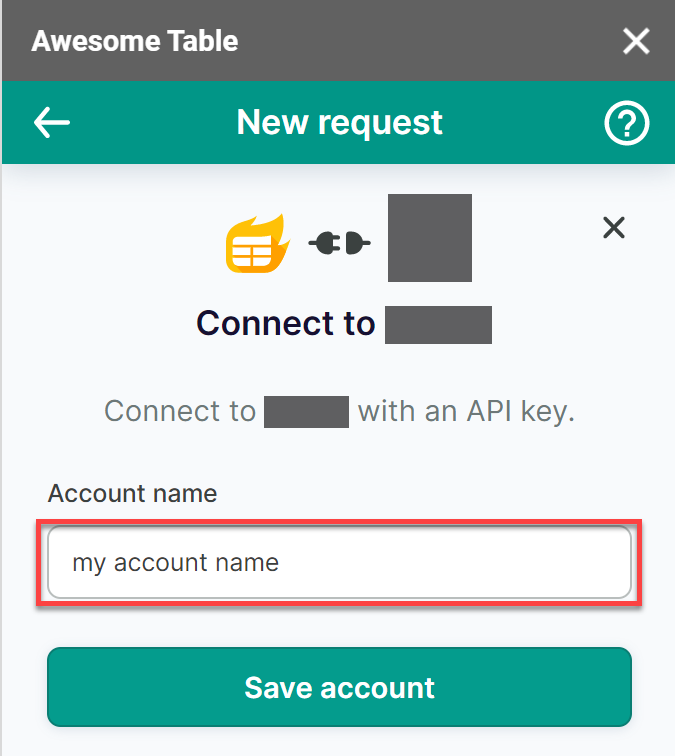
Click Save account.
A message appears saying your authentication is successful.
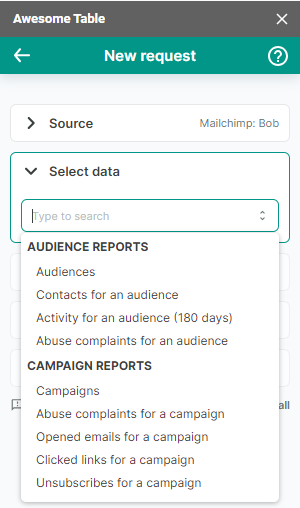
You are now logged in with the connector, and you can start exporting data.