Export from Salesforce to Google Sheets
You can use Awesome Table Connectors to export from Salesforce to Google Sheets. Exporting to Google Sheets via Awesome Table Connectors allows you to access raw data, schedule refresh to get regular updates, and configure your output sheet's layout, among other features.
This article demonstrates how to use Awesome Table Connectors to get a Salesforce report and export it to Google Sheets. You can use your own Salesforce account and follow along.
You can also use the Awesome Table Salesforce sandbox connector to export to Google Sheets if you don't want to use your production environment. For more information, see When to Use a Sandbox.
Prerequisites
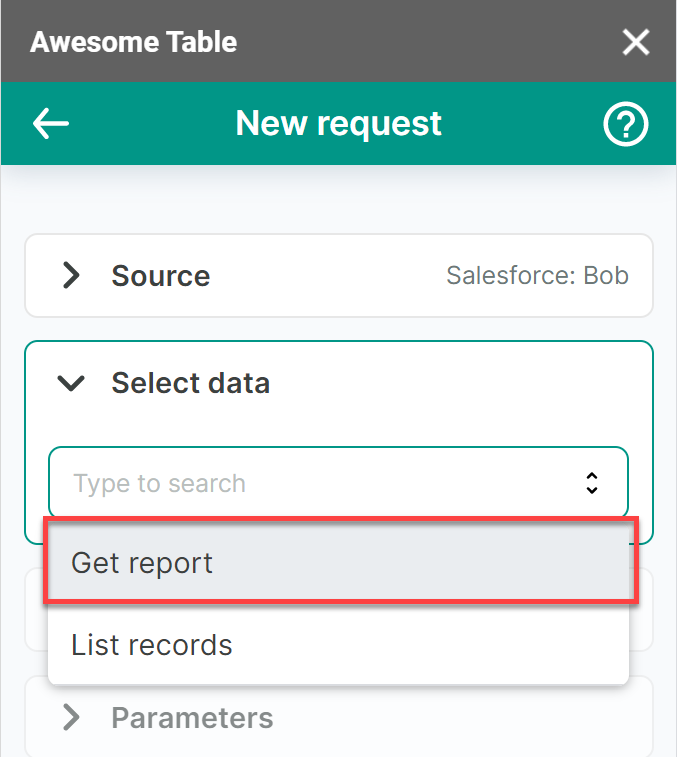
Open the Select data drop-down, and click Get report.
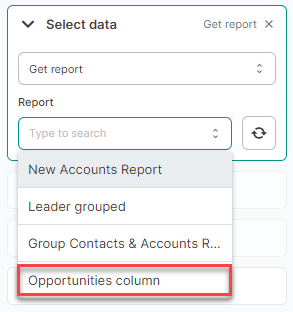
Open the Report drop-down and select the Salesforce report that you want to export.
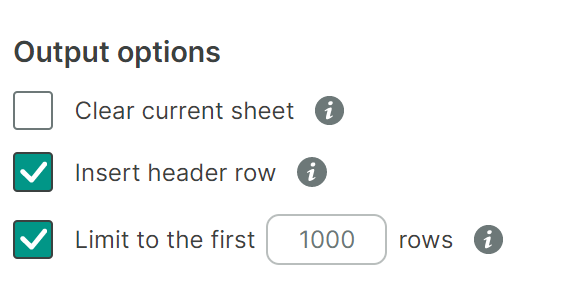
(Optional) In the Output options, configure how your data will be inserted into your spreadsheet.
(Optional) Use the Preview & Select columns feature to choose the columns you need, edit their names, and configure a sort order.
- Click Preview & Select columns.
A new window opens. - Make the changes you want.
- Click Save changes.
- Click Preview & Select columns.
Click Run to start your request.
noteIf you are running a request for the first time, the Permission needed pop-up window opens.
- Click Sign in with Google.
- Select the Google account you want to use with Awesome Table.
- Click Allow to grant Awesome Table the required permissions.
Awesome Table Connectors informs you if you successfully exported to Google Sheets.
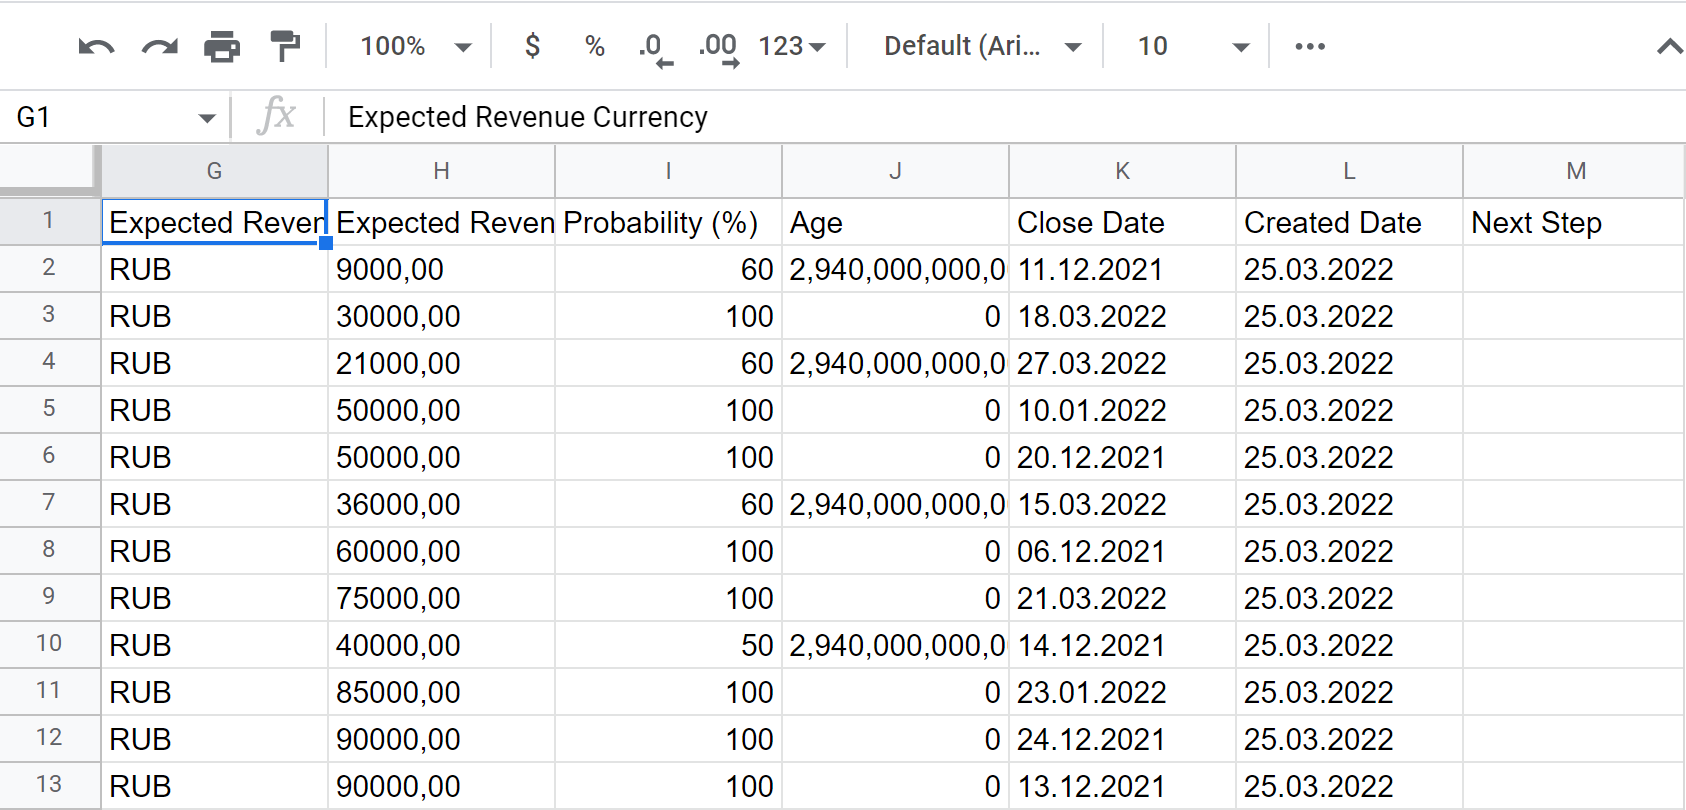
You have successfully exported a Salesforce report to Google Sheets. Successful requests are automatically saved and displayed in the Home screen.